
Dashboard & Configuration
The control center for all your auto-clicking needs. Configure intervals, target locations, and more.
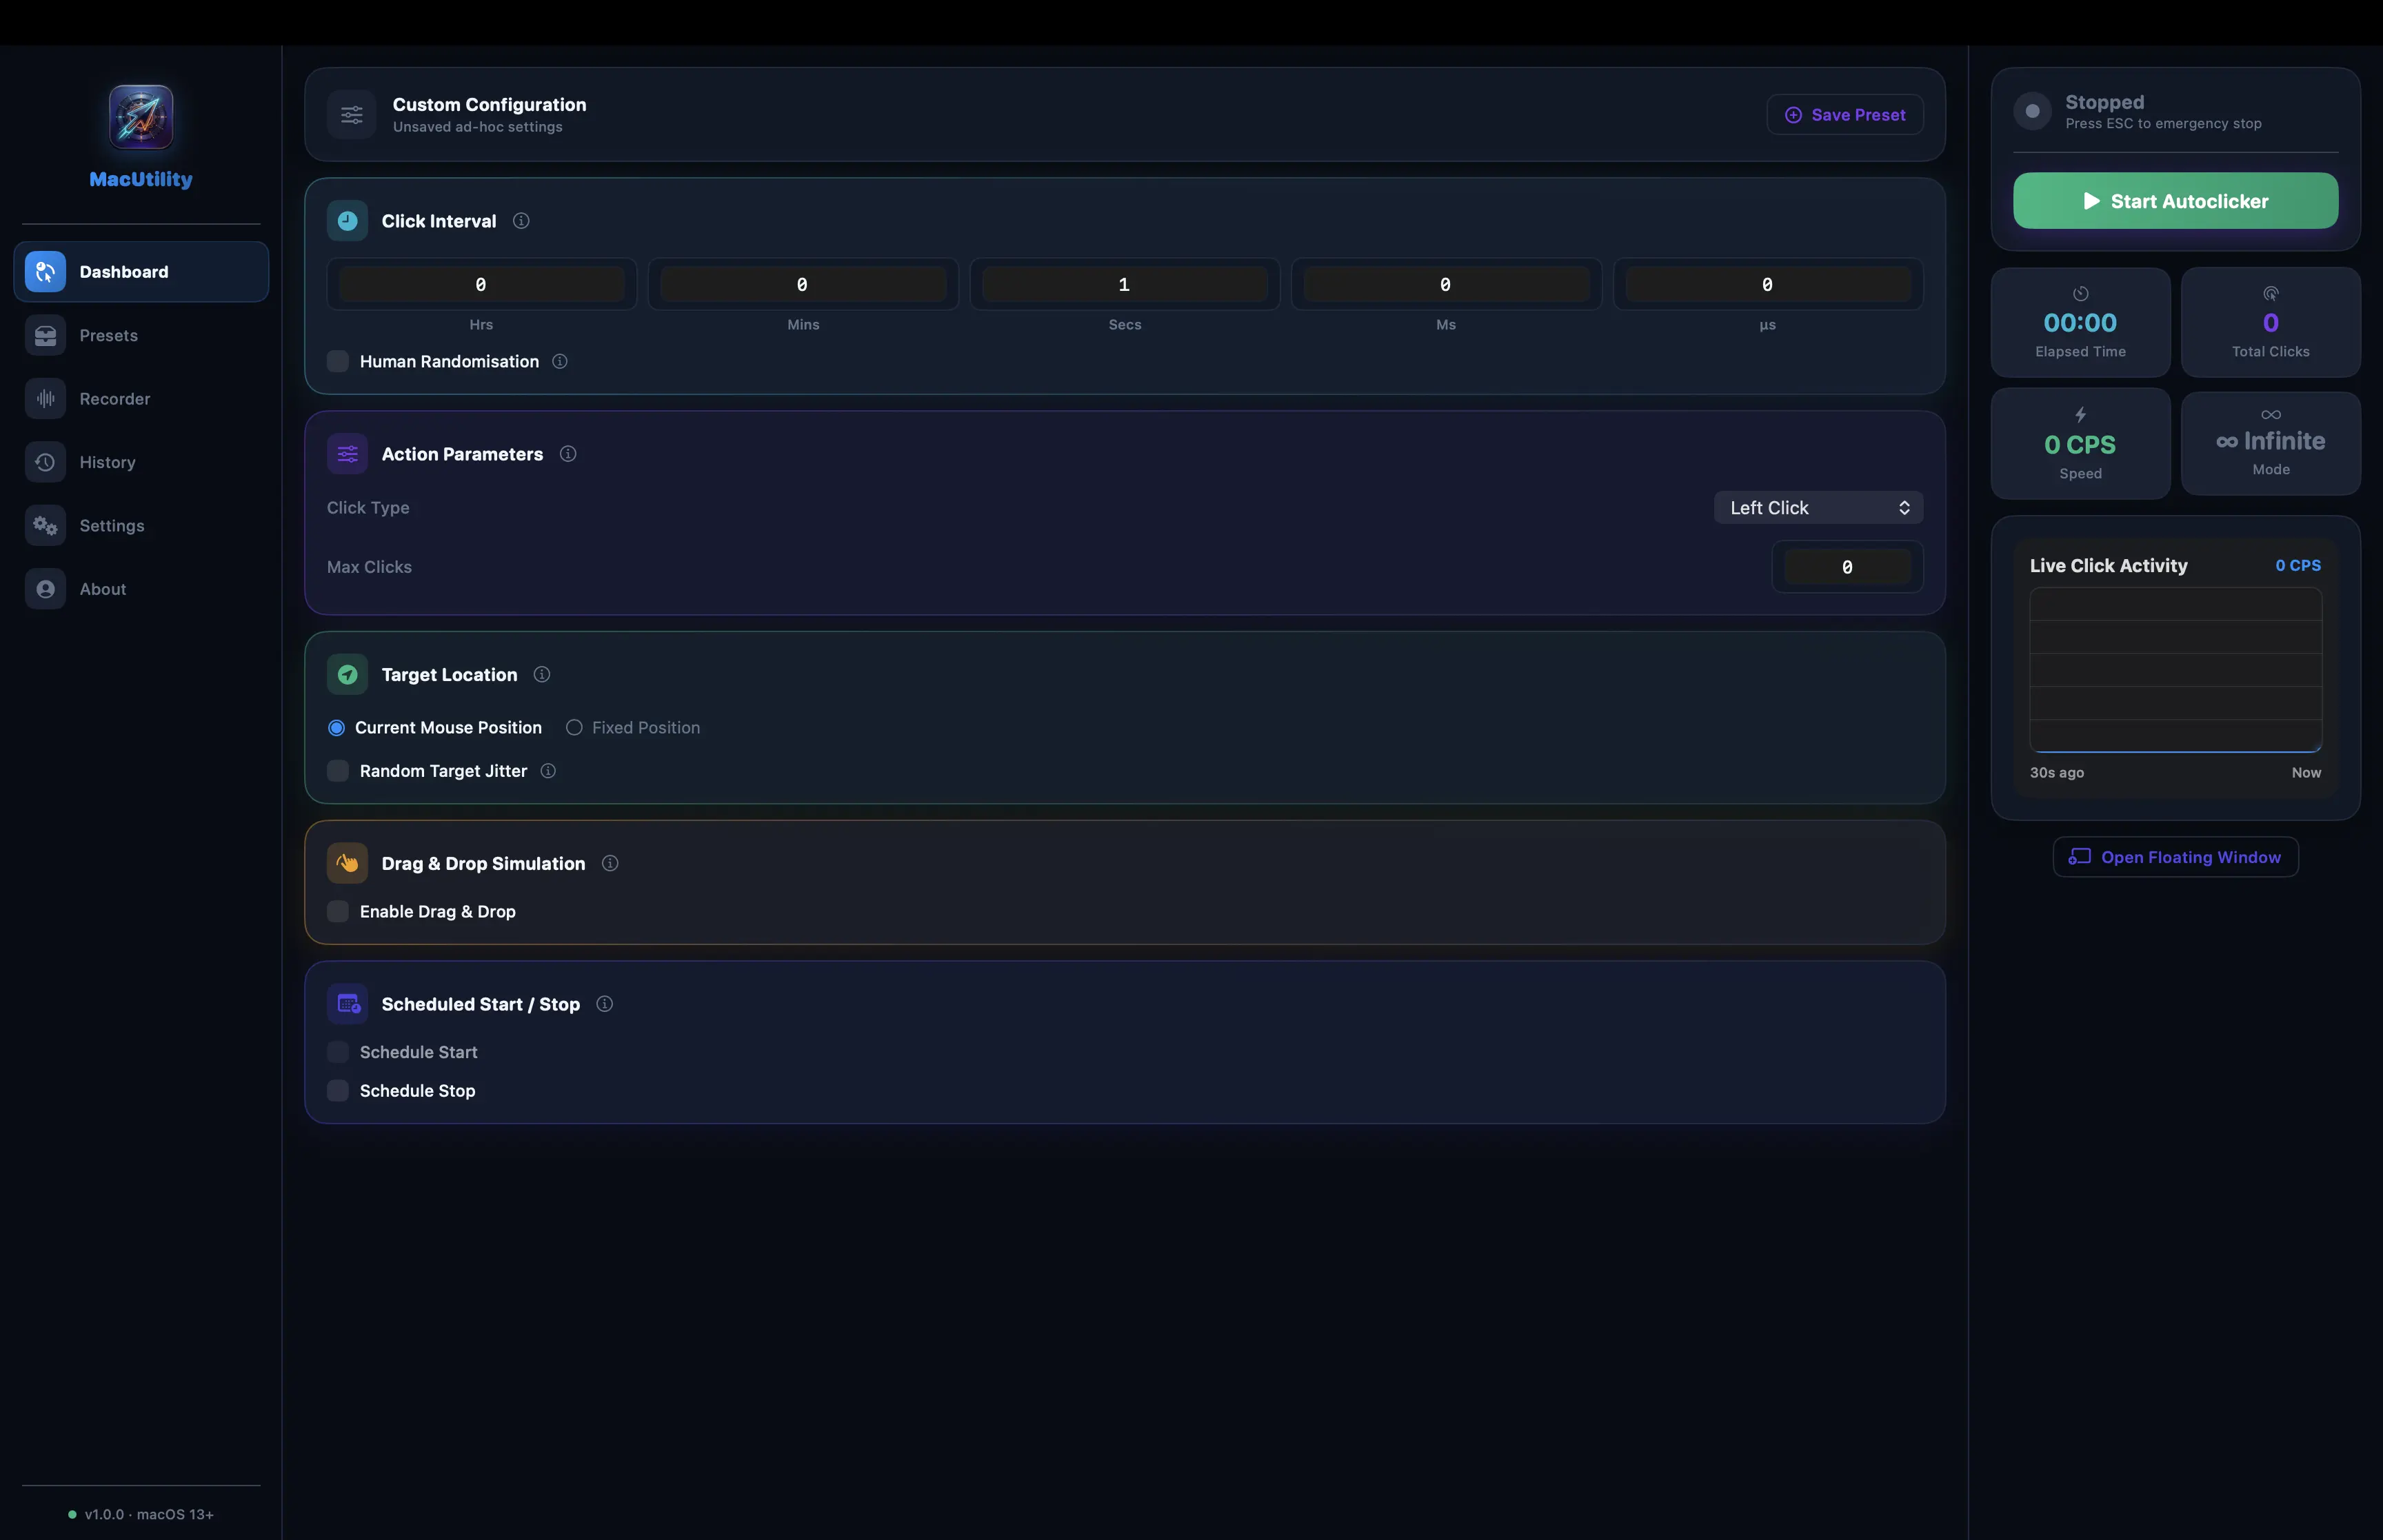
1. Click Interval
Define exactly how fast you want MacUtility to click. You can specify the interval down to the microsecond.
- Hrs / Mins / Secs / Ms / µs: Fine-tune the delay between each click.
- Human Randomization: Enable this to add a slight random delay between clicks, preventing anti-cheat systems from detecting robotic, perfectly-timed clicking patterns.
2. Action Parameters
Customize what type of click is performed and how many times.
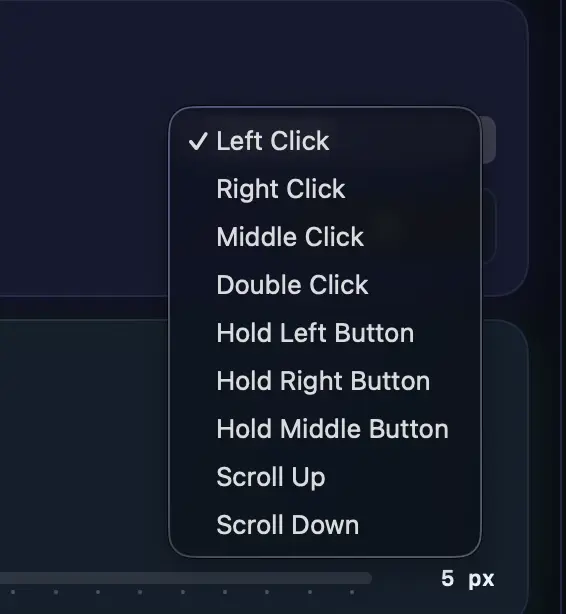
- Click Type: Choose between Left Click, Right Click, or Double Click.
- Max Clicks: Set a limit to automatically stop the clicker after a certain number of clicks. Leave at 0 for Infinite Mode.
3. Target Location
Tell MacUtility exactly where to click on your screen.
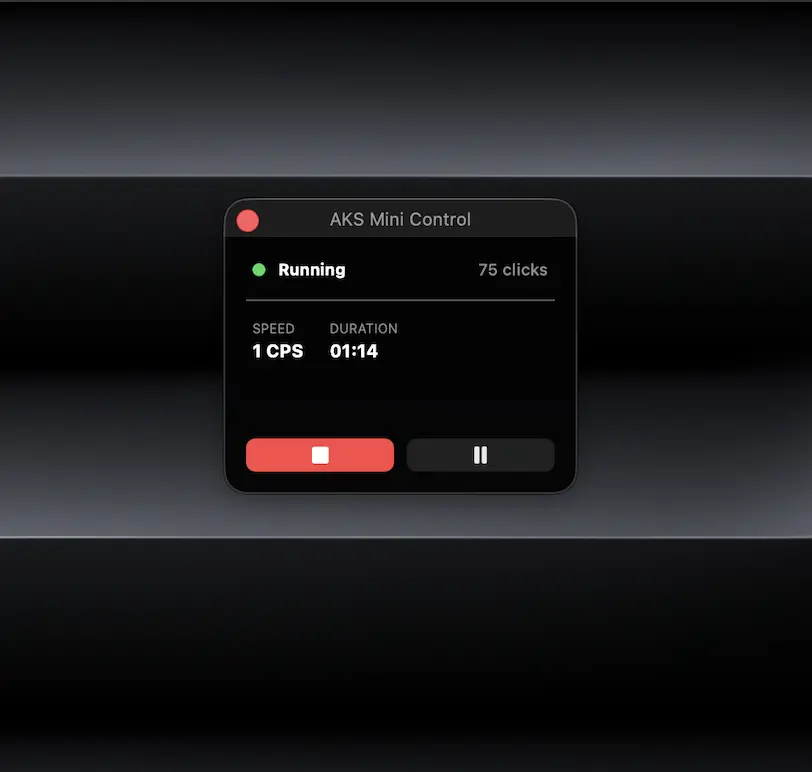
- Current Mouse Position: Clicks wherever your cursor currently is.
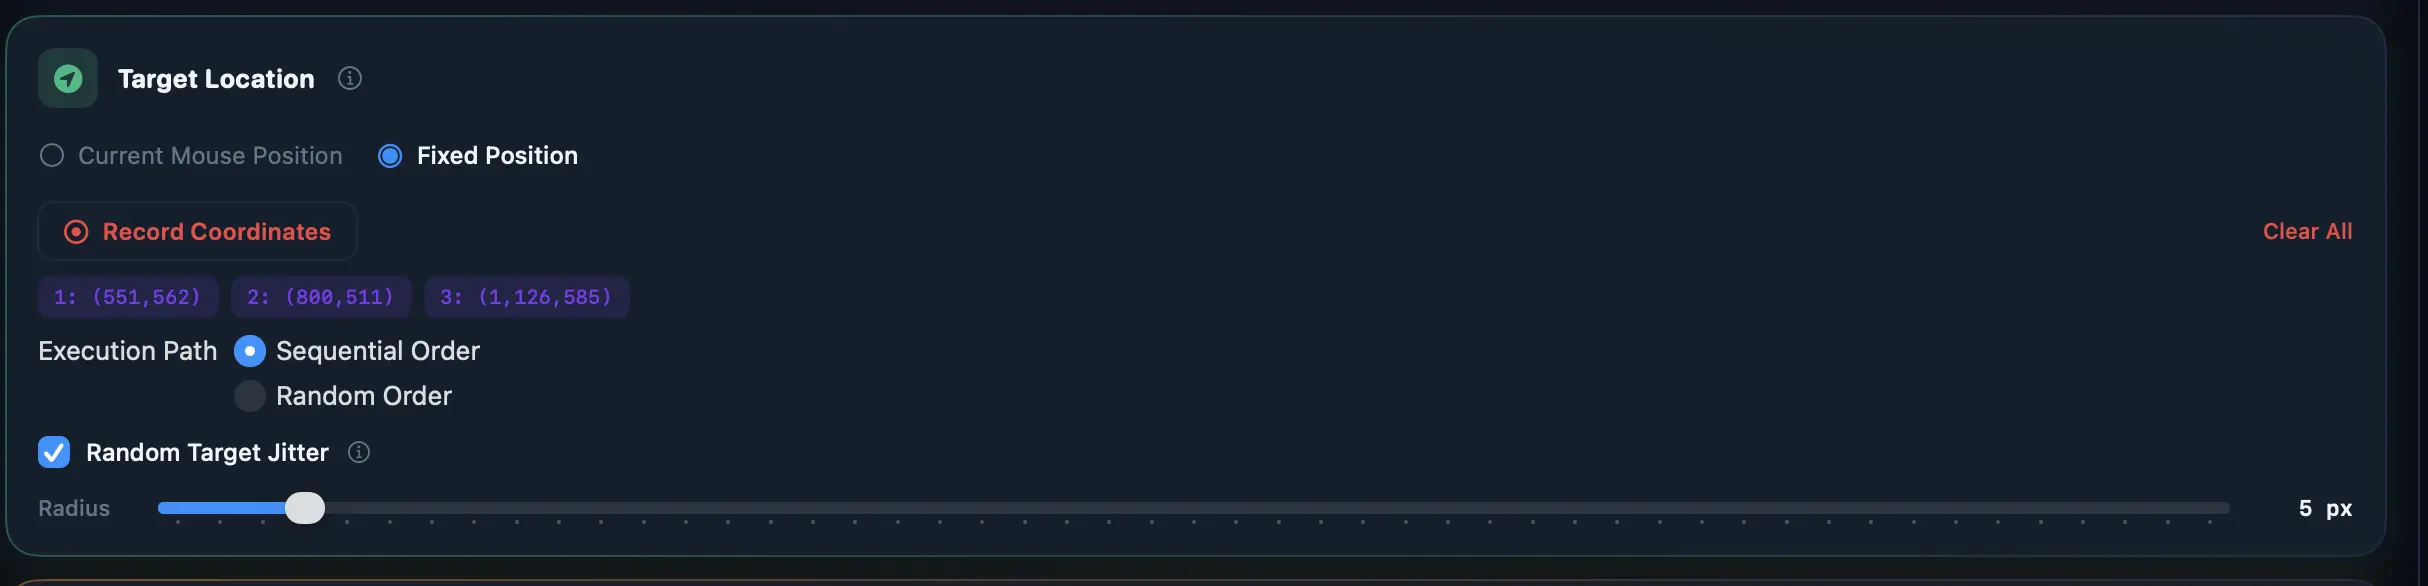
- Fixed Position: Clicks a specific X/Y coordinate on your screen, regardless of where your mouse is.
- Random Target Jitter: Adds a slight random offset to the click location to simulate human inaccuracy.
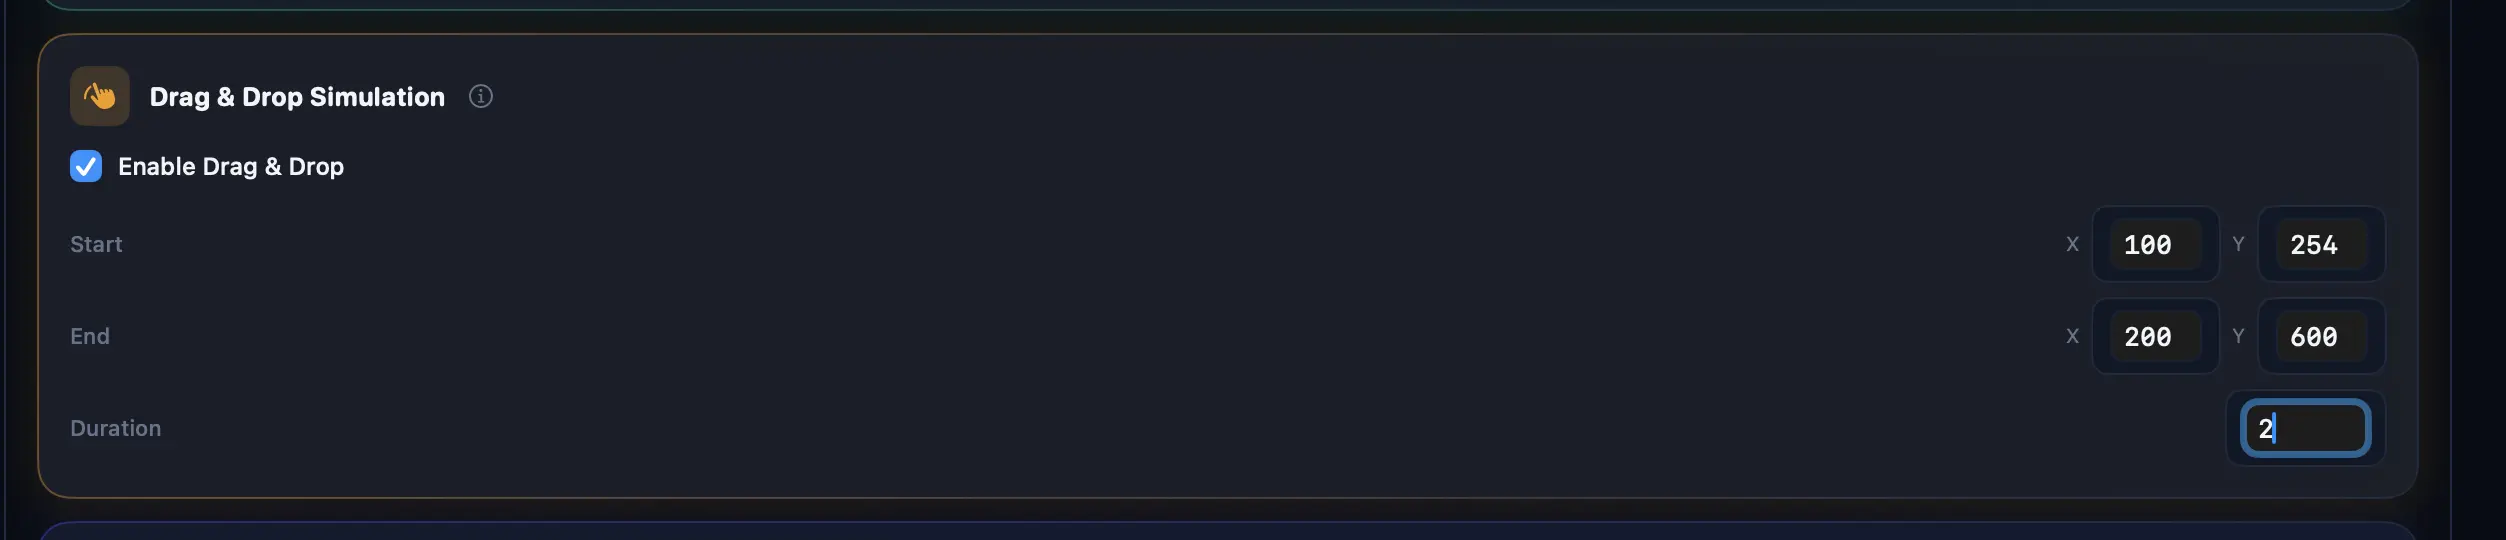
4. Drag & Drop Simulation
Enable this feature to simulate holding down the mouse button and dragging to a new location.
Common Use Cases:
- Inventory Management: Automatically moving items between slots in games like Minecraft or MMOs.
- Automated Swiping: Simulating swipe gestures for testing mobile apps in simulators.
5. Scheduled Start / Stop
Configure MacUtility to automatically begin clicking at a specific time and stop clicking at another time.

Common Use Cases:
- AFK Farming: Schedule the clicker to start while you are asleep or away from your desk.
- Timed Events: Automatically trigger clicks exactly when an online event or flash sale begins.